Publishing Your Site
One button, four possible destinations.
WebHaste has four built-in deployment options. They are:
- Cloudflare Pages
- Netlify
- Local folder (for transferring to server)
- Packaged site in local folder (for opening directly in browser)
Click 🚀 Publish in the top toolbar. Every .html page in your project gets composed the same way the Live Preview does — template applied, menus rendered, images and scripts included — so what you've been previewing is exactly what ships. Which of the destinations below it goes to depends on the Deployment Target you've chosen in Site Settings.
Cloudflare Pages
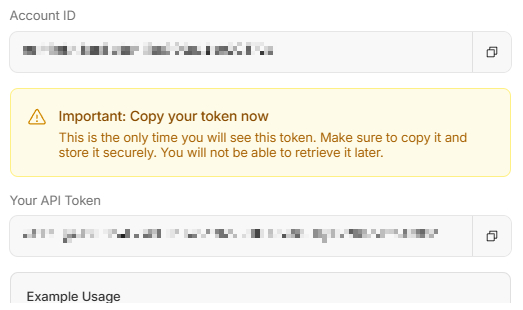
Uploads your composed site directly to a Cloudflare Pages project via Cloudflare's Direct Upload API — no git repo and no build step on Cloudflare's end required. You'll need:
- An Account ID and Project Name from an existing Pages project in your Cloudflare dashboard (create the project there first).
- An API Token. Create a token scoped to Cloudflare Pages edit permission only, rather than a full account token — the token is stored locally in your browser, not in an OS-level keychain.
Netlify
Uses Netlify's file-digest deploy API: each composed page is hashed, the hash manifest is sent to Netlify, and only the files Netlify doesn't already have cached get uploaded. You'll need:
- A Site ID, found under Site settings → General → Site details in your Netlify dashboard.
- A Personal Access Token, created under User settings → Applications → Personal access tokens.
Render to Local Folder
Doesn't upload anywhere. Composes every page and writes it into a folder inside your project directory (set via Local Render Folder in Site Settings, default dist) so you can hand it off to any SFTP client, a git repo, or whatever deploy process you already use. A good fit if your host isn't Cloudflare or Netlify — for example, set the folder to docs for GitHub Pages' "serve from /docs" option. This only writes the folder; it doesn't run git or push anywhere for you.
Note: Link and file paths are root-relative, which means opening the files directly in a browser will break links. If this is a need, consider the "packaged" version below.
Render to Local Folder (Packaged)
Doesn't upload anywhere. Composes every page and writes it into a folder inside your project directory (set via Local Render Folder in Site Settings, default dist). Links and image calls are changed to be relative to the folder, which makes this a great way to view the site directly in a browser with no server involved.
This is advantageous in cases where:
- You need to test the rendered site with links and embedded elements fully functional before deploying elsewhere
- You need to submit an offline version of your site for scanning, review or auditing
- You are working on a class project and need to submit your files in a self-contained package to your instructor (i.e. Google Classroom)
- Your site is stored on a shared drive or intranet where multiple people open it directly in their browsers
 Topics